
The sets used in these tutorials are from R. A. Hapke, and currently on sale at Roll20 marketplace.
This evening we're going to use a few more features of Tiled:
So first, if you started a map with the initial lesson, open that up:

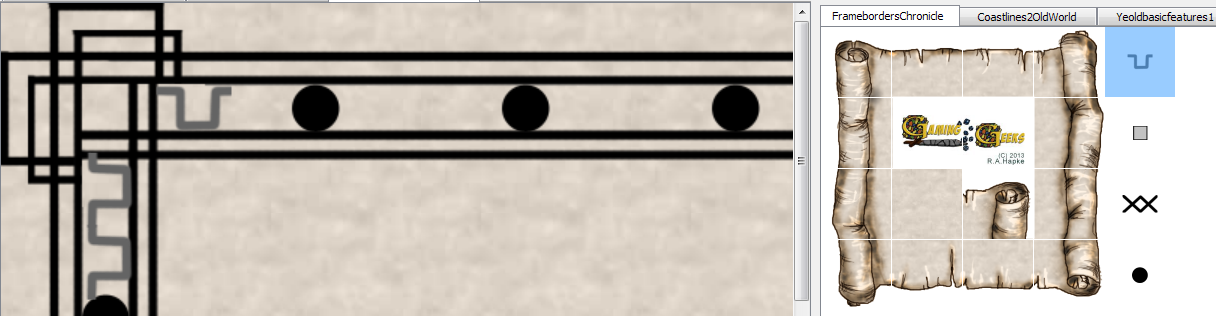
For this lesson, let's add to that frame first. In the lower right box, right click and "Add Tile Layer". Now, I've selected a different frame, and in the second frame layer, added it right on top.

For the purpose of this tutorial, that second frame layer will be just named, "frame2". Here's a close up of those layers and how they are presently ordered:

Because my design elements are usually centered, especially if they have transparent background, I can also switch to the first frame layer and quickly add in some black circles for one design element. Next, in that lower right hand area, right click and add an 'object layer'.
Why? because,.. that's why..no, really because I want to add a bit more decor to the outer frame - as well as show you some little tricks to make mapping easier.
So, here is the geometric wave element placed (by selecting the little picture in the object layer).
Now comes more fun bits - using the Select Object tool, select the geometric wave...

While it is selected, you can either use the mouse, or the directional arrow keys to move the object. And, you can also right select the object and choose "Duplicate Object":

Bam! it duplicated directly on top of the last piece and you can just use the mouse or arrow keys to move it over. But wait! There's more!

Select them both by holding the left mouse button and dragging across them in the object layer, and they both select. Right click again, and choose 'Duplicate - although now you see it has '2' objects instead of just 'object'.
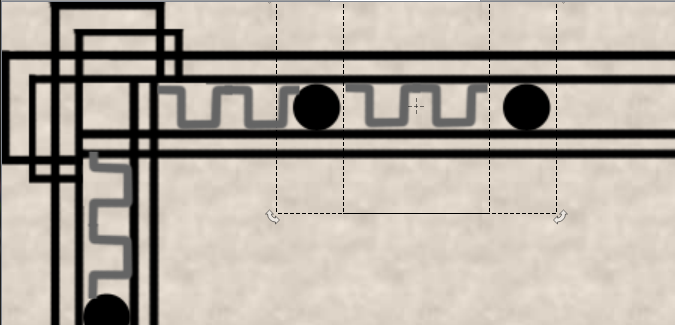
Again, the duplicates are placed directly on top of the old ones, and while they are still selected, move them into position. If grabbing with the mouse, grab the multiple objects by selecting an open area WITHIN the selected areas, not the line. If you select a line, then the selection is broken and you end up moving tile by tile instead of as a group.

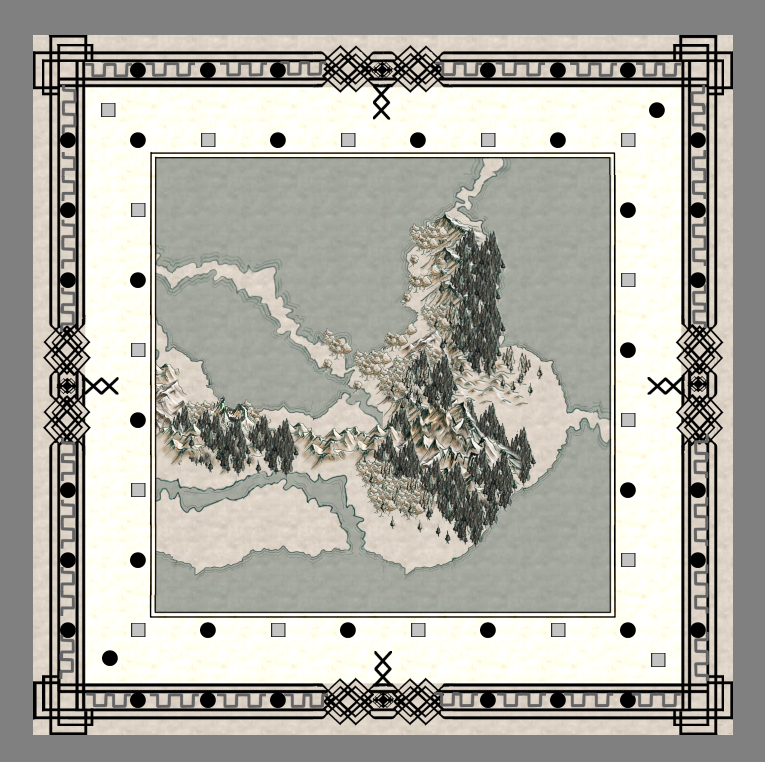
In theory, you should now be able to select all four, right click and duplicate 4 objects...you can!
Below you can see once I finished elements on one edge, they were simply right clicked, 16 elements were duplicated at a time and then rotated and moved into the other three areas.

Neat, huh!?!
And, you can continue to add detail in this same fashion. In Frame 2, once again using the grid I added the circles and boxes; in frame 1 changed out the first frame by simply clicking right on top with a new one; and then added the corner and center elements in the upper object layer.
Let's do a little more with groups...

In the upper object layer, let's quickly add some palm trees or towers or whatnots along a route somewhere. Now let's see how well the grouping works in Tiled.

OH NOES!!!! when selecting, some deciduous trees were selected alongside the palm trees!!! Aghhh Panic!!! - actually no. In Tiled, while everything is selected, simply hold down the "Shift" key, and click on the element you don't want selected.

Ta-Da! Now we have our group and no extras hanging about...
So, in Tiled, while the group is selected, you will notice that instead of the four directional arrows on the corners of one box, they appear in the four corners around the perimeter of all of the selected elements. Now, by holding the mouse button on one of those and moving the mouse, we can rotate the entire selection...

move the selection...

And as long as the entire selection is selected, the elements will move as one.
IMPORTANT NOTE: Although Tiled works beautifully with layers, objects and tiles alike, when selecting objects in one layer - objects in OTHER layers can be grabbed at the same time.

To prevent this, if you are moving a lot of objects in one layer, 'un-check' the other layers in the lower right so they are not visible. The selection will not pick up the invisible objects.

No comments:
Post a Comment