
Let's begin with an introduction to Tiled:
Once you've downloaded and installed, you can create a quick start icon for your desktop:

Double click and you should see a screen similar to this:

In mine, it looks something like this, because I have numerous maps going at any given time:
So, let's go to 'File' and click on 'New'. A small box will center itself on the screen that will look like this:

As you can see, in the bottom left, you can adjust the width and height, using either the arrow buttons or just type in the amount of grid rows and columns you want (width and height). You can also see to the lower right, the size of the grid squares. I design primarily at a 140 x 140 pixel grid layout, so that is what I normally use.
Once again, after you've set your map size and grid sizes, you will see this:
Tiled can use individual tiles, but it is far more effective (and quicker) to create tilesheets to pull in for your map. To grab a tile, design element or tilesheet, click on 'Map' and select 'New Tileset'. Another small center box will appear. Click on 'browse' to grab your tile or tilesheet. Then click 'Ok'

IMPORTANT!!!: When you set up your graphics, try to not move them around too much. Tiled doesn't like when you move things from one spot to another. So once you've established where your graphic files are on the computer, keep them there. Tiled cannot track them down for you.
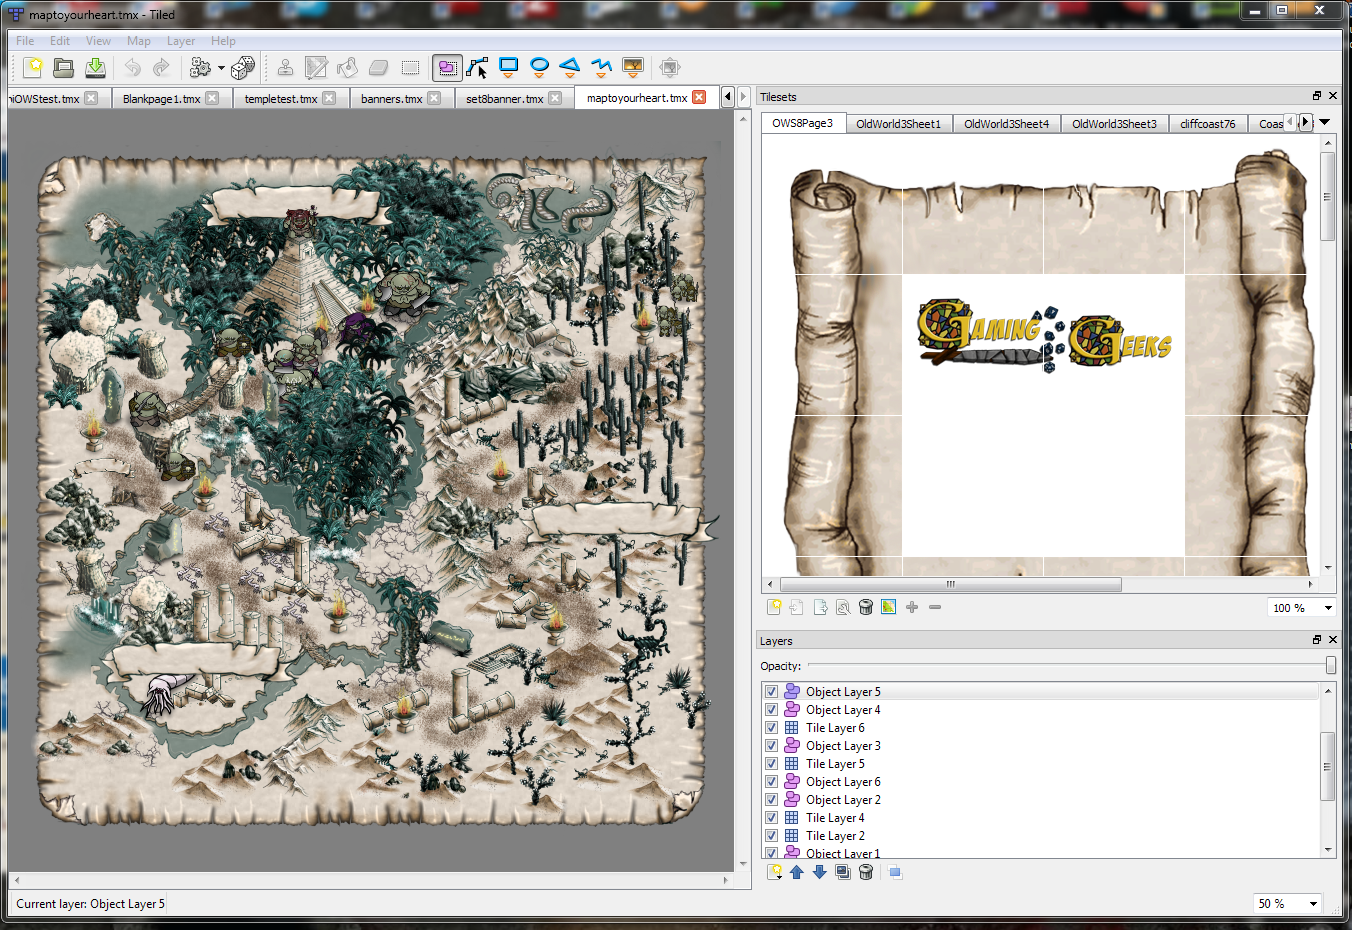
So, now we've imported a tilesheet:
Along the top, you can see the tool buttons. To the bottom right you will see the box for Tile Layers, Image Layers and Object Layers listings. The top right box will show your tiles and tile sheets you are currently using.
In the tools, on the back layer, I want to get a quick scope of how big my map will be, so clicking on the spilling bucket/fill tool, I click on a land base tile within the tilesheet and hover over the page. The whole map area will 'flood' with that tile selected. Click once and it all fills in for you.

Now I'm going to add a layer. Right click in the lower right box and you will get three options:
- Add tile layer
- Add object layer
- Add image layer
Let's add a tile layer, select the stamp tool and select a tile or design element.

You can quickly fill in with a design element/tile by holding down the left mouse button and dragging. Here, a frame is made.

I've repeated the new tile sheet, bringing in more tiles, added another tile layer, and started layout some of the basics of my map. I've also made the map background layer go behind the frame by simply selecting the layer in the bottom right box, and moving it up or down with the two arrow buttons.
Now let's place some objects! Object layers break the grid, or are completely free of the grid. Tile layers suggest just that...they are soldiered or tiled to the grid. You can use tiles in the object layer and vice versa.
Right click in the lower right to add an object layer, and pull in some more design elements. There are two main buttons for the Object layer that make life easy - the 'Select objects' button (the two overlapping purple shapes) and the 'Insert tile' button (itty bitty picture frame).
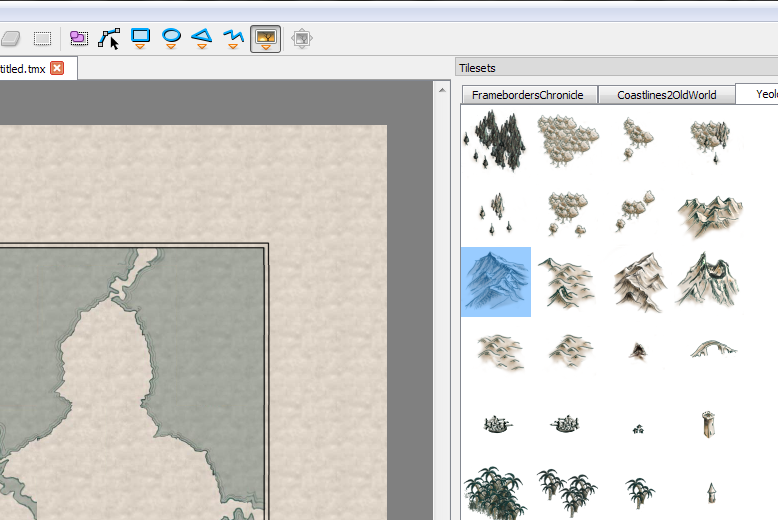
Select the little picture icon and select a design element to begin placing:
You can quickly place a lot in a very small amount of time. In this case, when I added the object layer, as mountains were added, they began to overlap the frame. Oh Noes!!! Not a problem!

Remember the layers box in the right? Simply select the object layer, and move it down below the frame layer. You can do this constantly to play with the layering.

I've made maps with near 30 layers, just to see how complex a map Tiled could handle...and it does so beautifully! Here's an example really quick of another map made recently with many tile and object layers:

An interesting thing you will notice when placing objects, is the overlapping that occurs. Tiled doesn't always build from back to front. Front tiles are those with the most surface area exposed, so even placing a tile on top, may still end up partially covered by a previously placed element. It's pretty fun and adds a lot to the organic nature of this work.
If you want to make sure a particular element or object stays in front, simply add a new layer...

For the end of our first Tiled lesson, Let's discuss the 'Select object' button. This is used for elements within object layers. As you can see from the picture below, an element is selected, and a dotted line box appears with four directional arrows in the corners. You can grab one of these and rotate simply by holding down the left mouse button. You can also right click once an object is selected and flip horizontal, flip vertical, or change which layer the object is to rest on. Fun!

Now go forth and happy mapping! Thank you for reading the tutorial and we will have more soon!
No comments:
Post a Comment