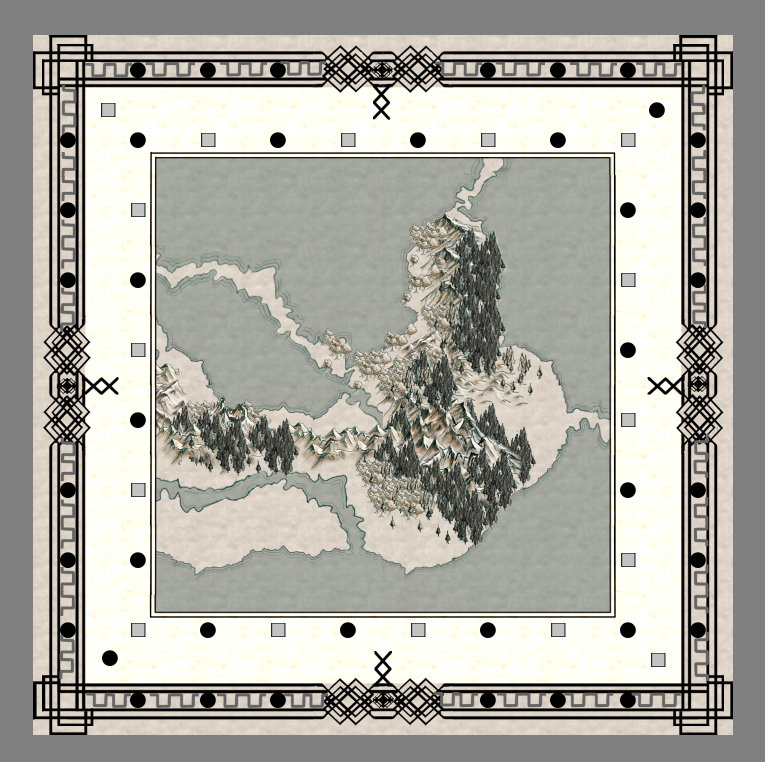
First, let's pull up our map from before:
Next, go to 'File' - 'Save as Image'. You will see a small center box pop up on the screen.
- Include only visible layers - basically what is shown on the screen
- Use Current Zoom Level - I never check this one unless doing a zoom in on an area and don't need the other parts
- Draw the grid - includes a grid in the graphic saved
- Include background color - which includes the background color
Use 'Browse' to let the program know where you wish to store the image.
Tiled saves images as PNG by default, but you can also change it to jpg, txt or gif.
You can also export your work (different from saving as image) in various formats as well: .tmx, .dat,.txt., .json, .js, and .bin
It was a quick lesson but one that will help out immensely when you want to use the map for other programs, online or offline.
Happy Mapping!


No comments:
Post a Comment